Tuesday, July 31, 2012

Taste the Rainbow!

So last night I busted out all of the Lime Crime colors(well all but Milky Ways) and decided I wanted to do a gradient.  I think I really like how it all came out.


I used the technique where you get a makeup sponge and put a one line of color on one side and another on the other then you just dab the color on.  If you do try this with these colors it took about three to four rounds on each nail for me to get the majority of it opaque.  All and all though they blended together very easily; you just have to watch out because you might have it perfect then you touch it one more time with the sponge and it rips it all off.

This turned out really nice, it is very pastel, bright, and summery to me.  In fact it could almost be Eastery nails if that’s the sort of thing you’re looking for…maybe add some Easter eggs.

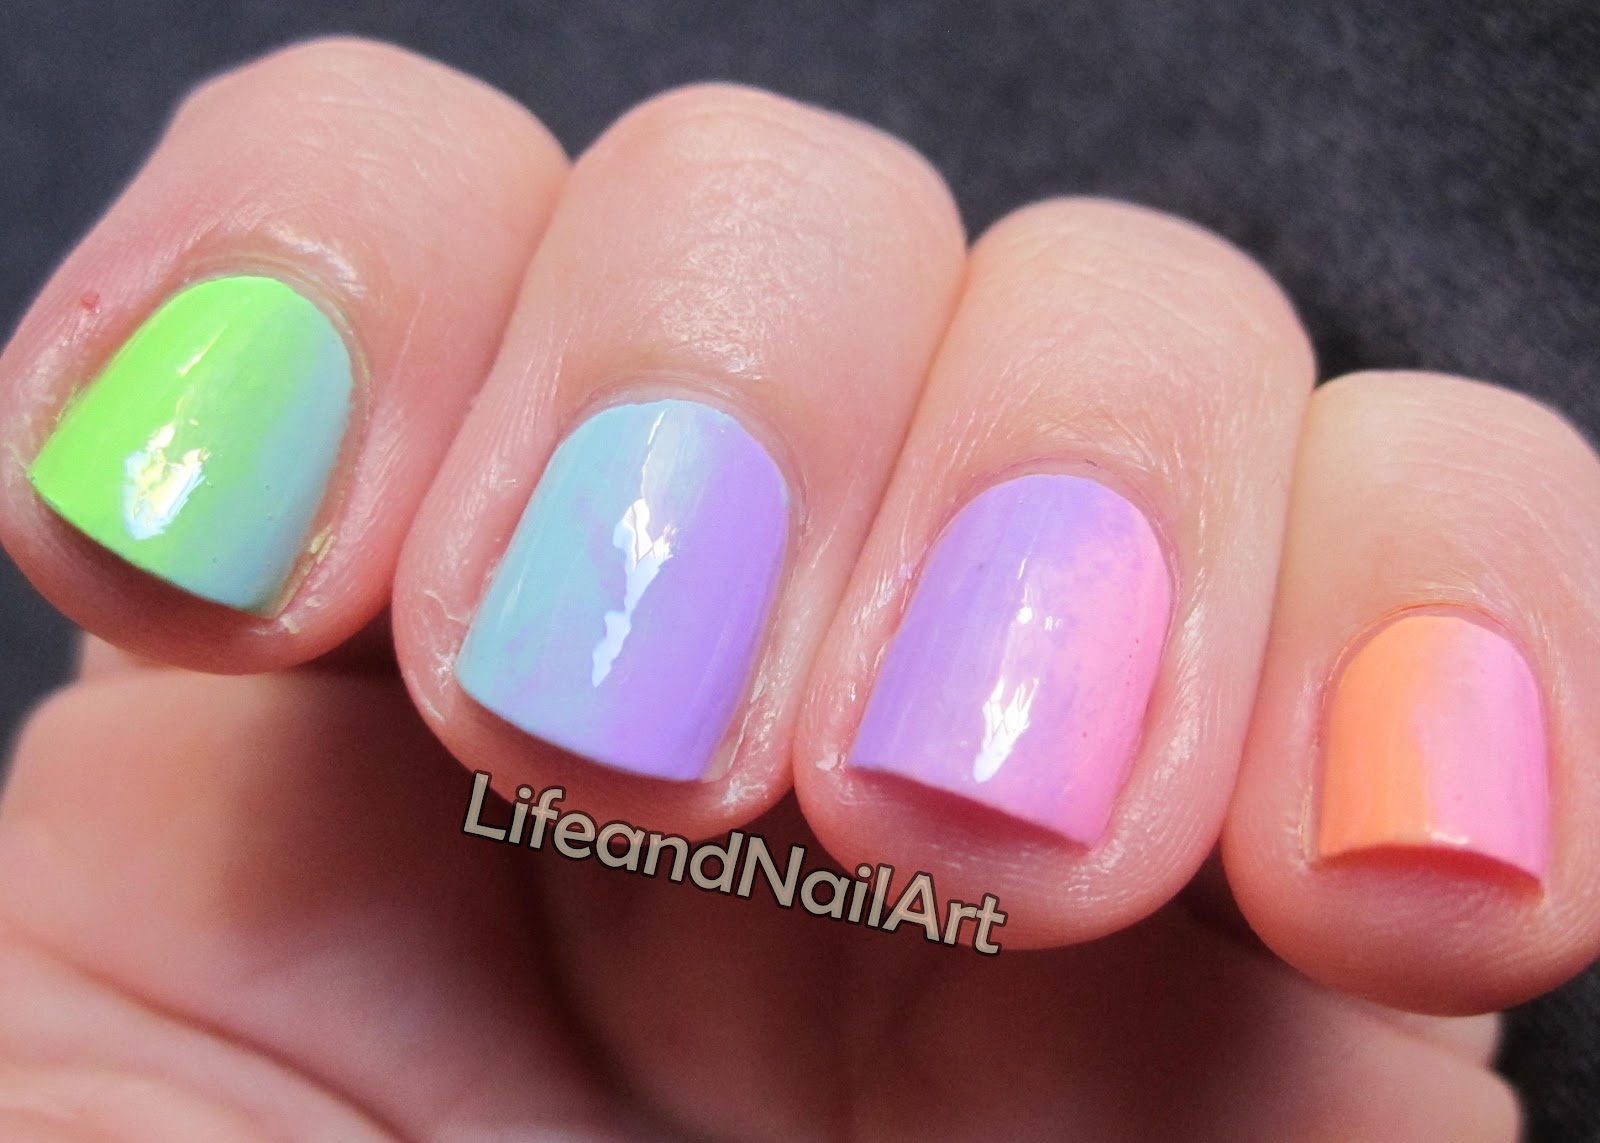

 Ignore my ugly cuticles...bleh, this weather has runined them.

One thing to note when you do a gradient it is a mess to clean up and some of these colors just did not want to come off no matter how much acetone I scrubbed on there.  The Lime Crime colors though are very pretty and fun to play with.

Anyway the baby is awake so off I go until next time!
Polishes: All Lime Crime
Pastelchio, Peaches<3Cream, Crema De Limon, Lavendairy, Once in a Blue Mousse, and Parfait Day

Sunday, July 29, 2012

Pastelchio

OMG it has been forever since I last blogged!  So sorry but I have been beyond busy especially since I’m going back to work super soon.  BUT since it’s been so long I do have a bunch of nails saved up that I need to post soooo on with show...

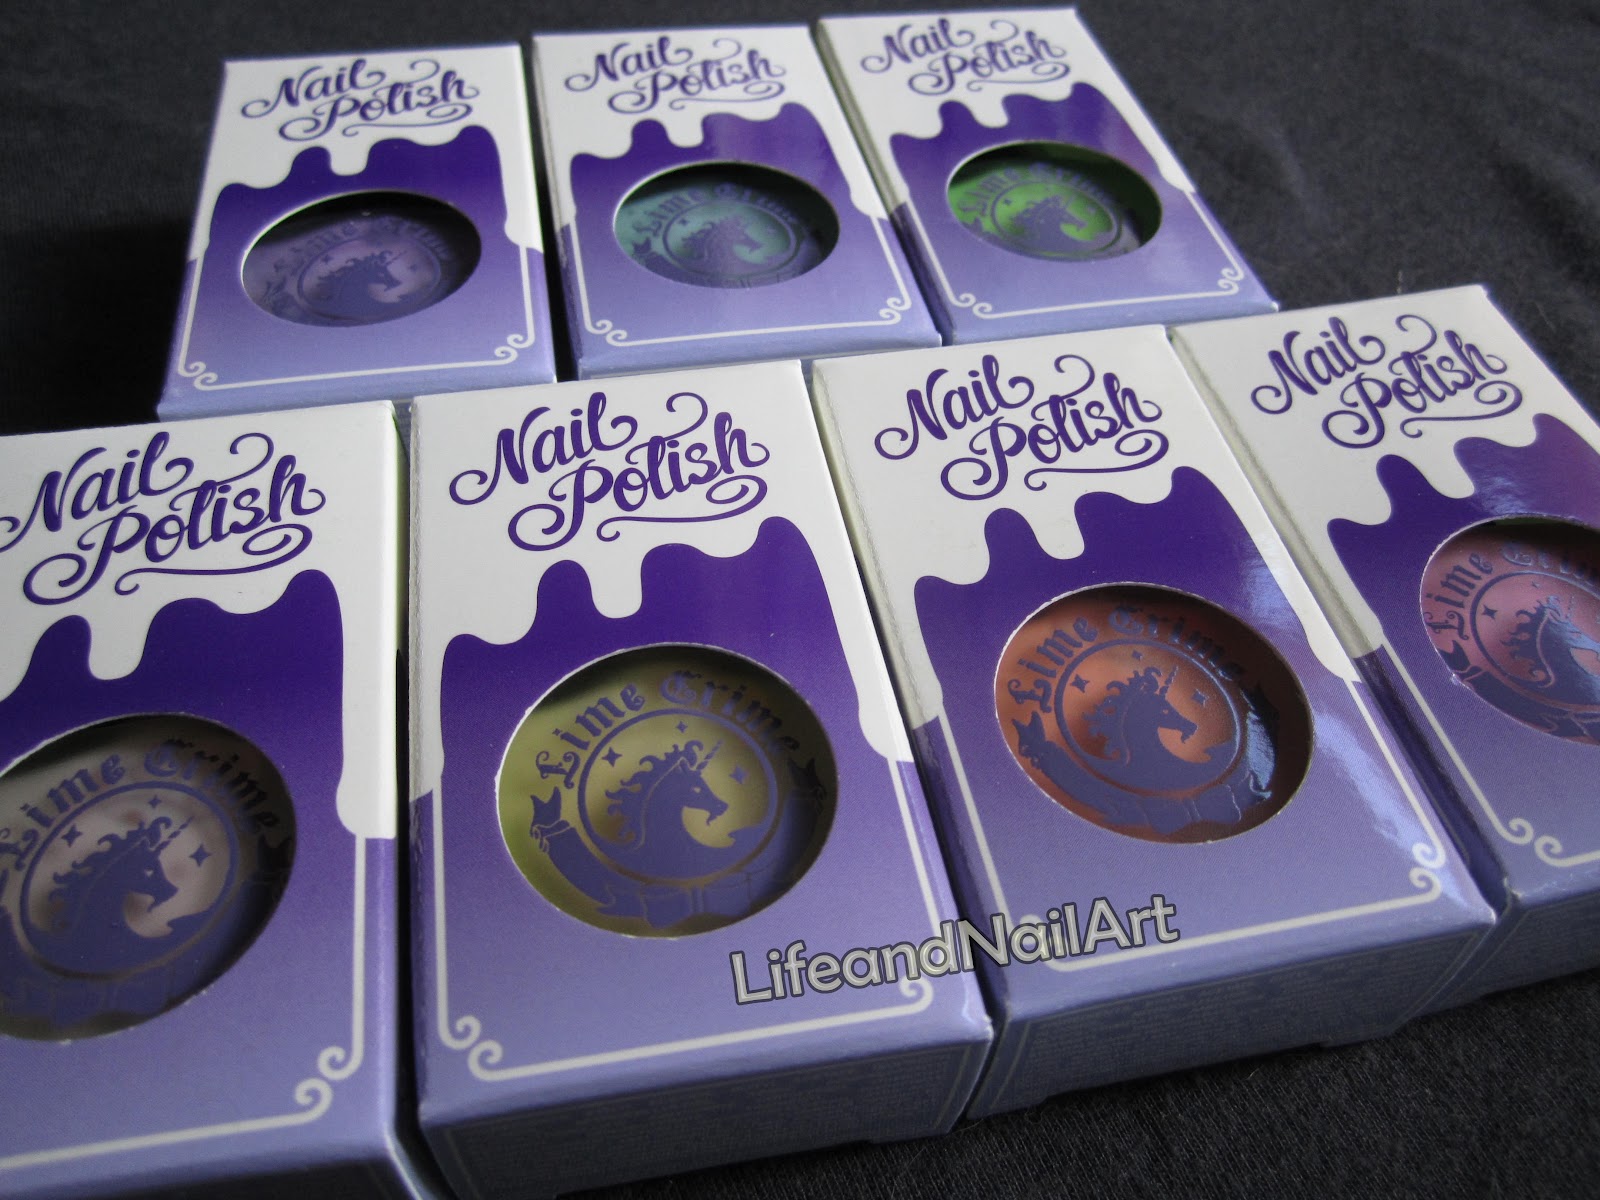
Lookie what I got in the mail! Lime Crime!  It took maybe a week after I ordered it for it to arrive so it was pretty speedy service.

This is how it looked as I unboxed it!  So exciting!
It was in beautiful packaging; I just love how it came.  They were much smaller than I anticipated though, even though the web site did say 9 ml/.3 oz compared to the standard 15ml/.5 oz so I was surprised in that aspect. 
Here is a comparison of the Lime Crime bottle to a China Glaze bottle.
In the picture above is Lime Crime Peaches Cream and China Glaze Sun Worshipper
So far I have only worn one of the colors and that is Pastelchio, so here is a little swatch of that color on my nails.
I really like the way the end color looked.  It’s a very creamy bright green and it took three coats in this picture to achieve opaqueness.  The formula can be a tiny bit thick compared to other polishes to a point where as I pulled the brush out of the bottle it was stringy.  In the photos I did add a top coat to give it it's glossy finish.
Things to point out about this polish: it can be difficult to put on a nice thin coat at times but once it’s on, it is beautiful.  Also, I tried several of the colors for stamping and could not get it to work.  Now then again, maybe someone whose been stamping longer than I could, I’m not really sure.  It either would not pick up on the stamp or would only pick up a partial print.  I might try it again but after 45 minutes of attempting with several different colors I had to take a break.
Anyway, I hope you think this color is as beautiful as I did and I plan to post all week so stay tuned!

Monday, July 23, 2012

Matt and Dots


I had a whole different post planned but then I just finished my nails today and loved them so much that this post had to come first. 
I see all the matt nails that everyone posts on their blog and I decided that I must jump on this band wagon!

These might be my favorite nails so far.  I very first saw the gradient dot manicure on chalkboard nails blog here(btw she is one of my favorites!)  So I decided that I would have a go at it and I think it came out beautifully.  I choose a matt base its China Glaze’s Stone Cold from the Hunger Games Collection.  It’s very thick to apply and dries relatively fast and matt.  It happens to be the only matt nail polish I have in my collection but it is pretty dang awesome. 


So after I did this last night I wanted to do shiny things on top of it with my stamp set but no matter what I did none of the colors I actually wanted were working so I slept on it.  This morning I woke up renewed and ready to make some art. 
I decided to try my skills at gradient dotting and I think it came out great!  For all you people out there who think you need to purchase dotting tools to actually do this that is not the case.  I used a simple bobby pin and the bottom of a paint brush and I think this came out perfectly. 


Anyway thanks for reading I really do LOVE these nails, if you feel like it follow me or leave me a comment and tell me what you think J
 Polishes:
China Glaze Stone Cold(Sparkly Grey Matt)
Sally Hansen Insta-Dri Speedy Sunburst(Pinky Coral)
Icing Little Blue Box(Tealy Blueish Greeny, very hard to see the true color in the pictures)
Julep Susie(White Baby Blue)

Friday, July 20, 2012

Fugly Friday (water marbling)


This will be quick because I have to be out the door soon and still have yet to dress myself and my son appropriately.  Today is Fugly Friday!  Last night I attempted to do my very first water marble and after an hour and thirty minutes and one and a half hands done, I said screw it and wiped it off.  BUT not before taking some pictures of this failure.

In this picture I did no clean up, because I knew I was going to take it off anyway so excuse the nasty edges.

I’m going to have to work on this skill because I’ve seen some breathtaking pictures of different individual’s water marble and I really want it to work out.  I just kept getting water bubbles under the polish, or the paint would bleed down my whole nail; it was still a fun thing to attempt though.

Anyway until next time, I have a very pretty stamping job on my nails currently and can’t wait to show you.

Polishes:
China Glaze Frostbite
Zoya Zuza
Sally Hansen Smooth and Perfect Satin

Wednesday, July 18, 2012

Marbled


Marbled nails!  Some people call this watercolor nails or an alternative to water marbled nails, I just think it looks marbled so that's what I'm calling it.  I saw this done on polishandpearls.com and I thought it was super neat so I had to give it a try.  If you’d like to see a tutorial for this on her blog click HERE.
natural light

artificial light

I think this came out pretty awesomely, and it was a really easy nail art to do.  I was able to do a nail then mess with my son, without worrying about it getting it all messed up since it looks messy to begin with.   Plus this was a good break from glitter polish. 

So I just ordered some new polish from Lime Crime, a whole set to be exact, and I cannot wait for it to get here.  I’ll be sure to let y’all know when it arrives J!  I will be busy the next few days so I’m not sure if I’ll be able to post but will defiantly try.  Until next time!

Update:  I don't know what came over me but I totally forgot the nail polish names! Here they are...

Polishes:
Wet N Wild French White Creme
Icing In Love
Zoya Carly
Zoya Zuza

Tuesday, July 17, 2012

Supernova


A new day a new color! As promised yesterday I tried another Revlon Moon Candy, this one is Supernova.  I'm getting better at the art of flaky glitter application I think. 


artificial light

natural light

The grey base coat was perfect just like on the Galactic nail polish, one coat to amazingness.  The glitter was just like the other bottle but I really do think I have figured out how to put it on.  I kinda would lay the brush on one side of the nail then roll it over the other side and it would apply it pretty well. 

 After looking at it all night and part of today I might have put a little too much on my nails.  This color is different; unlike Galactic I feel it looks more beautiful in artificial light than in natural.  After wearing both I prefer Galactic to Supernova.

I have one more Moon Candy left to try and although I do love the way sparkly, glittery, and flaky polishes look they are a pain in the butt to remove(that's why this one is still currently on my nails :)).  So I might take a break from the glitter for my next post.  But if you really want to see it let me know!

Monday, July 16, 2012

Galactic

I told you yesterday that I was going to try out the new Revlon Moon Candy and I have to say it looks pretty awesomesauce!

lamp light 

natural light


This is how my nails came out, in the sunlight there beauty really shines the flaky glitter catches the light and just sparkles beautifully.  If you look at the two different pictures the polish looks drastically different between artificial light and natural light.

There is one problem with this nail polish the glittery part was a PAIN to apply.  The base coat went on perfectly; one coat was practically opaque it was just the glitter end that was my problem.  Now granted I may not have the best glitter/flaky polish skills but the fact that I had to focus every ounce of my attention on keeping the stuff on my brush made it a difficult process.   I don’t know maybe I just need to use this kind of polish more to see if it is me or the polish.  Tonight I plan on trying another Moon Candy so we will see how that goes.

All negatives aside I would defiantly use this again because I love the way the manicure looks on my nails its chunky, sparkly, and just plain fun.  Anyway any comments or questions are welcome, thanks for reading!
Polish:
Revlon Moon Candy Galactic